
If you’re thinking about a staircase renovation, it’s worth taking the time to consider the logistics of the process beforehand. You’ll probably have lots of questions in regard to timescales, prices and even how to access the upper floors of your home. We can’t speak for all staircase renovators, but we’ve become known for our own approach here at Jarrods. As such, we’ve compiled this guide of how we think your staircase renovation process should go:
1. The initial meeting
This should be an informal meeting to discuss the options available and get a feel for what you want. When you’re choosing the right staircase designer should be able to show examples of their previous work to give inspiration and discuss everything from materials, practicalities and style of finish. This initial meeting shouldn’t last more than two hours. More than anything else, the first meeting should just be a chat to get the ball rolling.
2. Quoting the price
After you’ve given the designers an idea of what you want, they’ll be able to give you a quote. Personally, our quotes are valid for 30 days to give you time to think about your options, but it’s worth checking the timescale with your chosen designer. If you decide to go ahead with the project, you’ll generally be expected to pay a deposit before the work commences.
3. Survey & checklists
When you’ve paid the deposit and given the designer the go ahead, you’ll receive a finalised contract and samples. You’ll probably get a visit from a contracted surveyor who will make a detailed checklist of the project. This generally only takes a week or so. In the meantime, you should get a letter or phone call to confirm your installation date. We’d recommend getting it in writing.
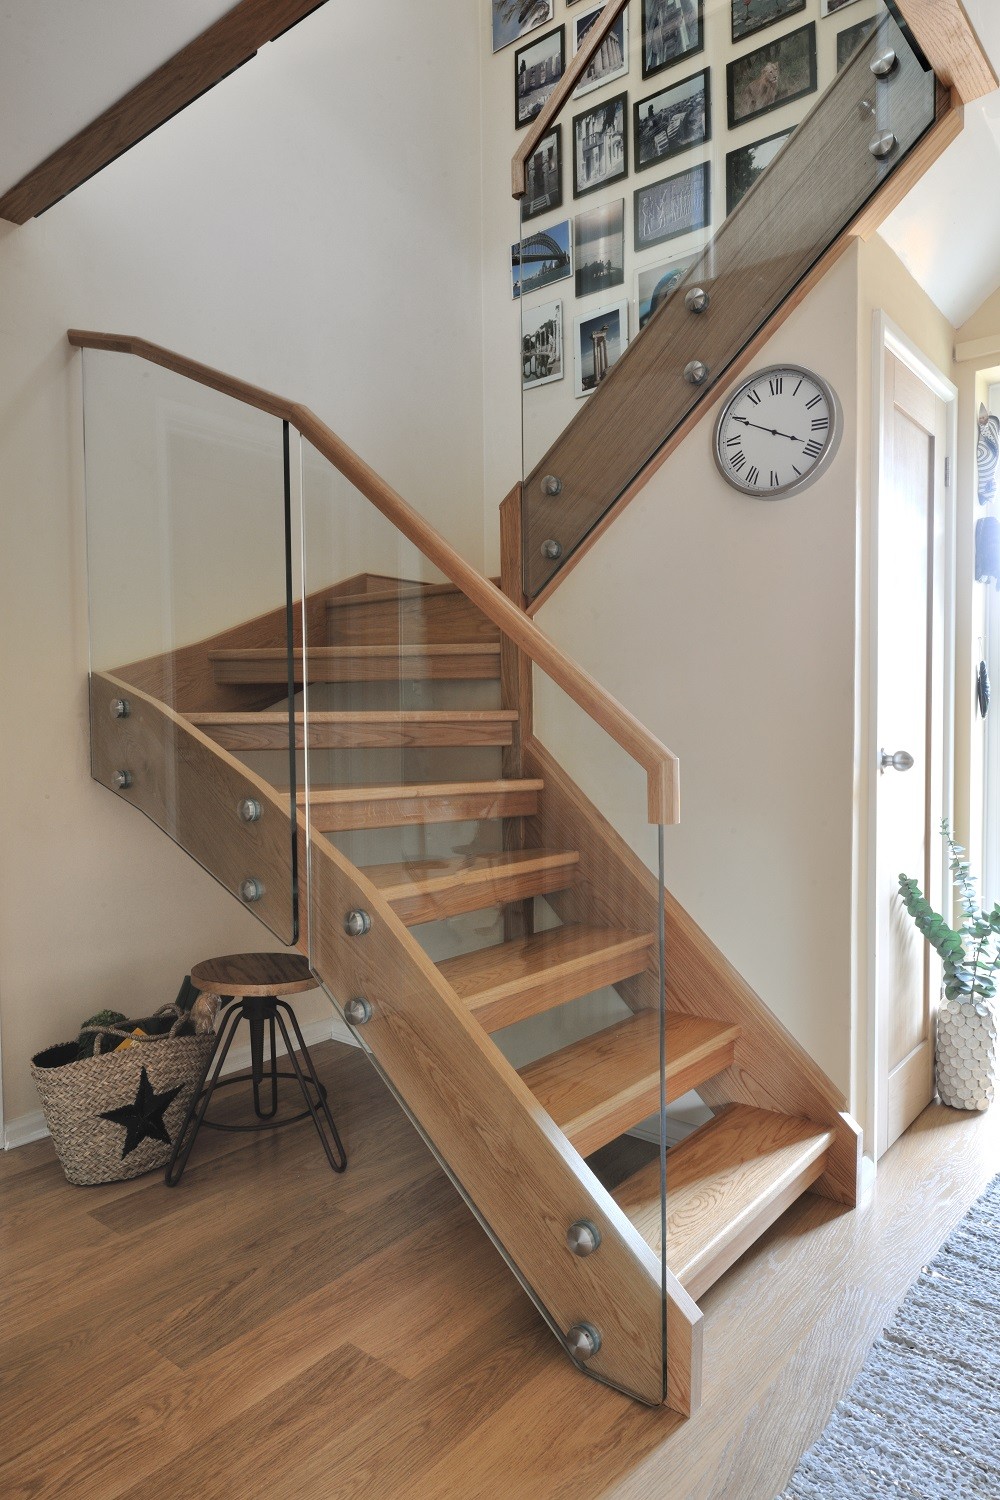
4. Quality control
When your parts arrive at the workshop, your bespoke staircase will hopefully get French polished. Most companies give at least two coats of lacquer, but we tend to give four. Your staircase should go through one last quality check before it leaves the workshop.
5. Installation
You’ll get a call before the installation date so that you can prep the area accordingly. Most people seem to think that a staircase renovation will render your upper floor as temporarily inaccessible but this isn’t always the case. It’s worth checking this with your designer beforehand so you can prepare accordingly.
6. A clean job
In order to minimise disruption and mess, your staircase installation team should set up a gazebo outside your home where they can complete as much of the work as possible. They’re also likely to put dustsheets and floor protectors down before removing your old staircase.
7. Fast service
A staircase renovation can be completed within 24 hours depending on the complexities. In most cases, you could leave your house in the morning and return to a completely new staircase!
8. The finishing touches
Before the installation team leaves, you’ll have to give final sign off on your staircase after you’ve given it a thorough check. They’ll then have one last tidy up before leaving you to enjoy your freshly renovated staircase.
Ready to get your staircase renovated? Read our checklist:
How to choose a bespoke staircase designer.
